Delve into the world of interactive gaming with a Wooden DIY Spin the Wheel – a classic and engaging activity that brings joy to various events. In this step-by-step guide, we’ll explore how to design and create your very own wooden spin wheel, providing hours of entertainment for family gatherings, parties, or team-building activities.
Wooden DIY Spin the Wheel
Gathering Materials
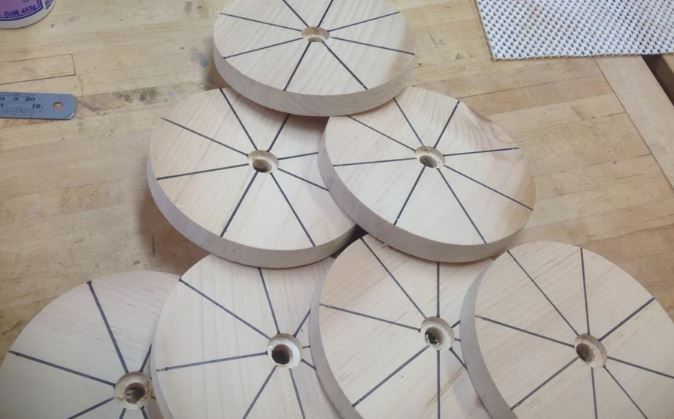
To kick off your DIY project, collect the necessary materials. You’ll need a circular wooden board, a lazy Susan turntable, a sturdy base, a marker or paint for design, nails or screws, and a reliable saw. Ensure all materials are of high quality for a durable and long-lasting Spin the Wheel.
Step 1: Cutting the Wooden Board
Begin by cutting the wooden board into a perfect circle. Use a saw to achieve a smooth and symmetrical shape. The diameter of the circle will determine the size of your spin wheel, so choose dimensions that suit your preferences and available space.
Step 2: Attaching the Lazy Susan Turntable
Attach the lazy Susan turntable to the centre of the wooden circle. This turntable will serve as the spinning mechanism for your DIY Spin the Wheel. Secure it tightly to ensure smooth and stable rotation.
Step 3: Designing the Wheel
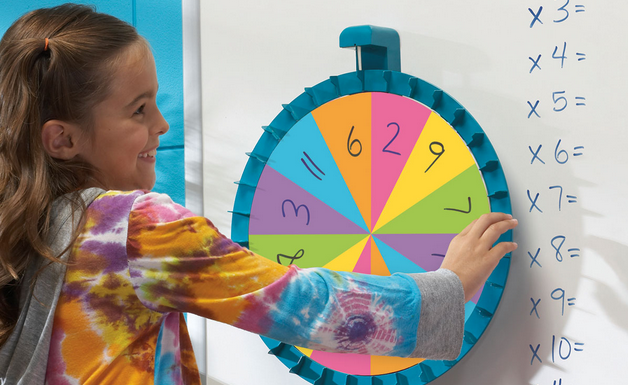
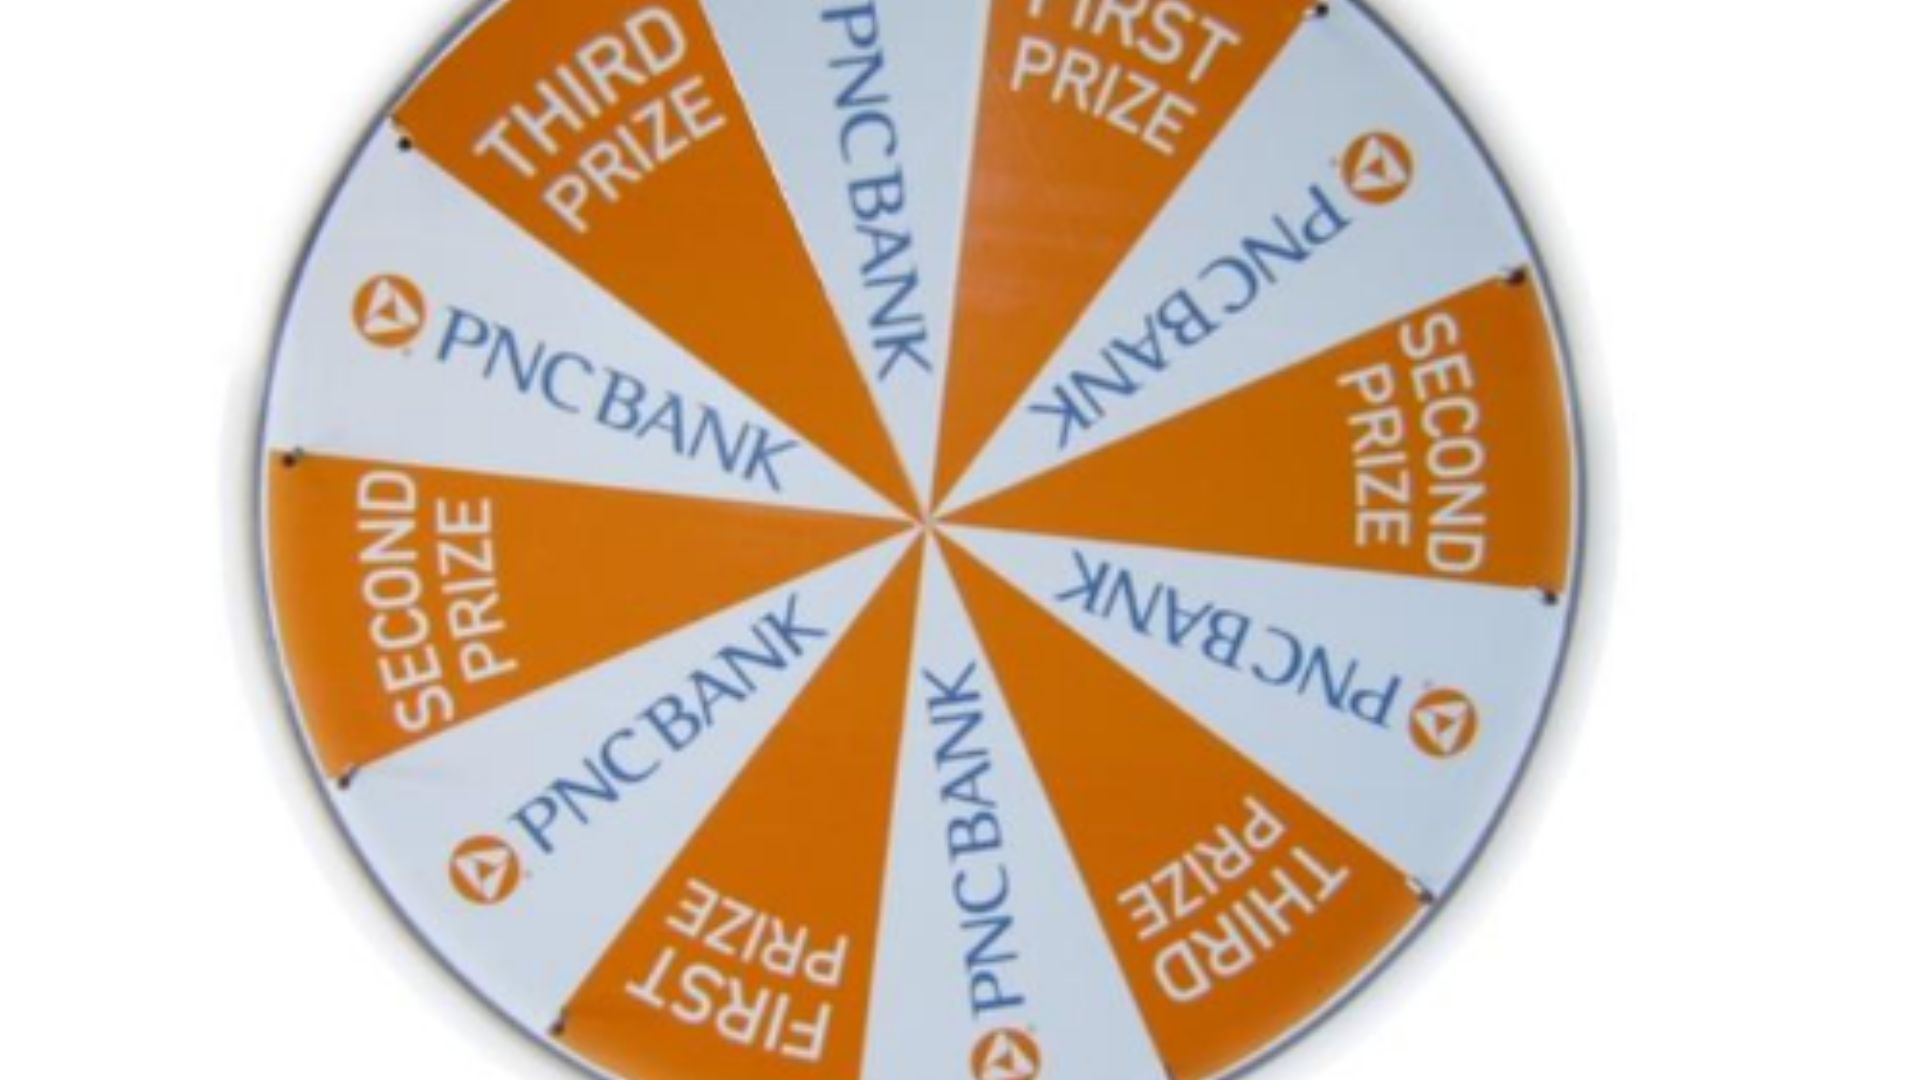
Let your creativity shine as you design the spin wheel. Using a marker or paint, divide the circle into segments, each representing a different option or prize. Add vibrant colours, catchy labels, and eye-catching designs to make your Spin the Wheel visually appealing.
Step 4: Labeling Segments
Clearly label each segment with the various options or prizes that participants can win. Whether it’s “Try Again,” “Jackpot,” or specific challenges, make sure the labels are easily readable. A well-labelled Spin the Wheel adds an element of excitement and anticipation.
Step 5: Adding a Sturdy Base
Attach a sturdy base to the back of the wooden circle. This base will support the Spin the Wheel and ensure it stands securely during gameplay. Additionally, consider painting or decorating the base to complement the overall design.
Step 6: Installing a Pointer
To indicate the selected segment, install a pointer at the top of the spin wheel. This can be a simple arrow or a creatively designed indicator.
Step 7: Testing the Rotation
Before finalizing your DIY Spin the Wheel, give it a test spin to ensure smooth rotation. Make any necessary adjustments to the lazy Susan turntable or the attachment points to eliminate wobbling or uneven spinning.
Step 8: Finishing Touches
Once satisfied with the functionality, add finishing touches to enhance the aesthetics. Consider applying a clear sealant or varnish to protect the wood and preserve the vibrant colours of your design. Hence, personalize it further with decorations that match the theme of your event.
Step 9: Hosting Spin-the-Wheel Events
Now that your Wooden DIY Spin the Wheel is ready, it’s time to bring it to life at your events. Whether it’s a family game night, a birthday party, or a corporate gathering, your handmade spin wheel is sure to be a highlight, providing entertainment for all.
Step 10: Maintenance and Storage
To ensure the longevity of your DIY Spin the Wheel, store it in a cool, dry place when not in use. Regularly check for any loose parts or signs of wear and tear. Hence, performing maintenance as needed to guarantee optimal performance during future events.
Conclusion
In conclusion, crafting a Wooden DIY Spin the Wheel is a rewarding and entertaining project that adds a touch of excitement to any occasion. With these step-by-step instructions, you can create a customized spin wheel that becomes a centrepiece for laughter and enjoyment. Gather your materials, unleash your creativity, and get ready to spin the wheel of fun at your next event!